No matter if you are aiming towards military chic, crossover vintage, or anything in between, patch-decorated clothing is top-tier. This retro trend has been spotted in celebrities and even some elite fashion designers. Knowing how to apply your iron-on custom embroidered patches yourself can save you money on high-end designs while offering you the satisfaction of creating something truly unique. Sometimes, it is not all about the brand but also how to work your way with the clothes.
Iron-on patches have been a trend and many more are leaning towards designing their clothes and somehow making their brand with it. The uniqueness of putting on custom patches especially iron-on custom embroidered patches on your jacket or hat or your bag is on another level. It shows how unique and different you are from the rest and if used properly might just be the plot twist you never knew coming.
IRON-ON CUSTOM EMBROIDERED PATCHES
It might look messy when you contain too much information and detail in a small patch but they have a classy, vintage, and traditional look. The prices may vary from the percentage that it covers on the fabric.
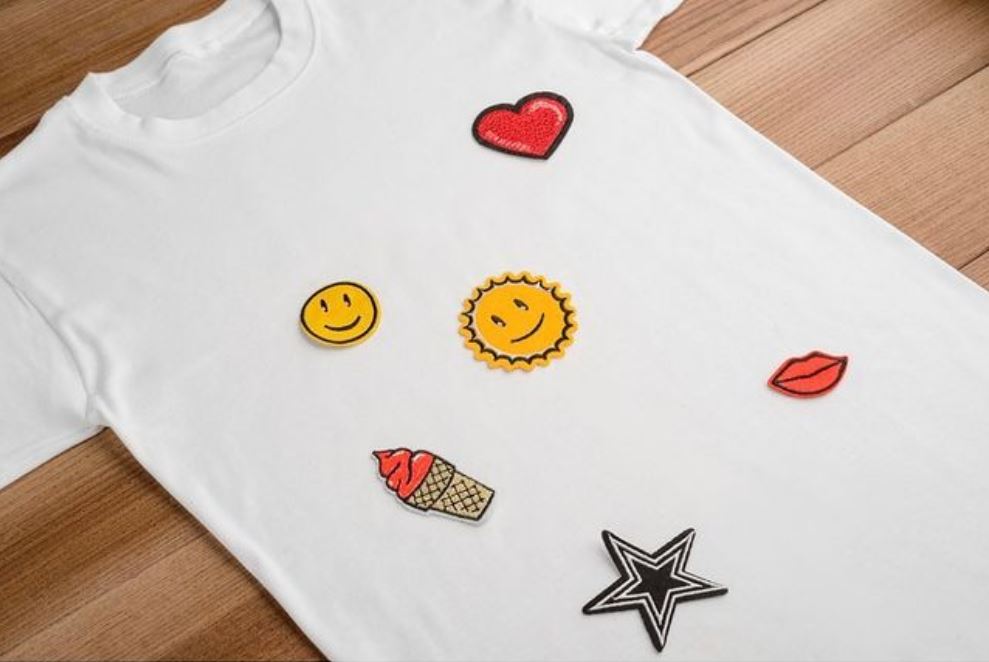
Iron-on custom embroidered patches are the most popular and the most classic type of patches. They are created using either twill fabric or felt as backing and special embroidery thread which are either polyester, rayon, or a blend of these two. These are perfect for high-contrast designs featuring solid colours. With the thread being raised upon embroidery, it presents a textured feel and a 3D look creating some depth in the design.
ADVANTAGES OF IRON-ON CUSTOM EMBROIDERED PATCHES
- Ease of Application: Iron-on patches are incredibly easy to apply. All you need is an iron, a piece of fabric, and a few minutes. There’s no need for sewing skills or specialized equipment. This convenience is especially valuable for those who need a fast solution for uniform or clothing customization.
- Temporary or Permanent: Depending on your preference, iron-on patches can be applied in a way that makes them either temporary or permanent. If you want them to stay in place permanently, you can stitch around the edges after ironing them on.
- Clean and Professional Appearance: When applied correctly, iron-on patches can look just as clean and professional as sewn-on patches. They often have a smooth, flat appearance.
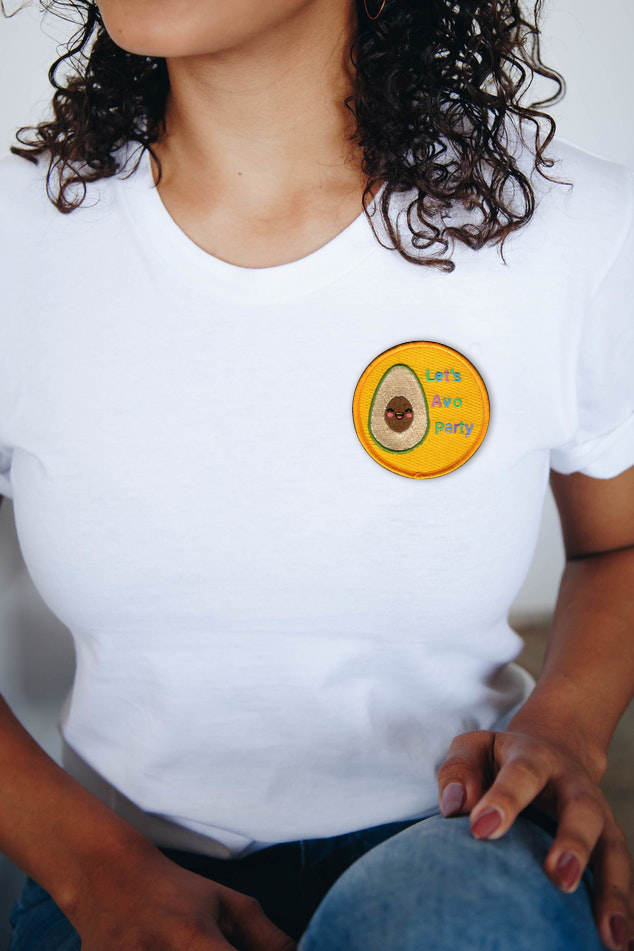
- Personalization: Custom iron-on patches can be designed to include personalized text, logos, artwork, or any design you want. This allows you to create unique items with your own style.
When you receive your custom-made patches or buy some patches from the local store, there are different ways to attach them to your desired item, may it be your jacket, cap, hat, or bag. These are all the things you need to know about how to apply patches.
Depending on the material you want to put the patch on, there are three options: Iron-on, Glue, and Sew. You can also use a combination of these for maximum security.
PREPARING TO APPLY THE PATCH
EXAMINE THE FABRIC.
The best base for ironing on custom embroidered patches is fabrics like denim and cotton. As a general rule, the fabric you choose should be at least as heavy as the patch.
- Make sure the fabric can be ironed, if not, find out what material it is made of.
- Extreme caution must be observed when dealing with polyester fabrics since high heat for ironing on patches can burn the fabric or cause discoloration.
- Silk and other delicate fabrics are not good candidates for patches.
THINK ABOUT PLACEMENT.
Decide where exactly you want the patch to be placed and lay out your jacket or backpack before heating the iron.
- If you are only placing a single patch make sure it is in the right position and make the placement look intentional.
- If you are planning to patch more than one plan ahead to make sure there will be room for additional patches.
- If you are using a printable paper patch, remember that letters and other asymmetrical items will appear reversed.
IRONING ON OR APPLYING THE PATCH
LAY THE ITEM FLAT ON A HEAT-RESISTANT SURFACE.
An ironing board is useful but if you don’t have you may lay your item across a doubled-up bath towel on a sturdy table.
- Do your best to arrange it so that the part of the fabric that will be receiving the patch is flat against a hard surface.
PLACE THE PATCH ON YOUR DESIRED POSITION.
Make sure that the patch is not crooked and the adhesive side is flat against the base fabric.
- The adhesive side is the underside for embroidered patches.
- The adhesive side is the side where the image is printed on transfer paper patches.
HEAT THE IRON.
Turn it to the hottest setting your fabric can tolerate. Make sure the “steam” option is turned off, and that your iron isn’t full of water.
PLACE A THIN TOWEL OVER THE PATCH.
Take care not to disturb the position of the patch. The towel will protect the patch itself and the surrounding fabric.
IRON OVER THE PATCH AND PRESS DOWN.
Hold the iron there for about 15 seconds. Apply as much pressure as you can by pressing down firmly.
ALLOW TO COOL.
Slowly lift the iron and check whether the patch is fixed on securely and gently rub the edge with your finger trying to lift it. If it lifts, replace the towel and press it again for 10 seconds.
Custom patches in Australia are more popular with teenagers and young adults. They would prefer iron-on custom embroidered patches by Embroidered Patches Australia, providing versatile and top-quality patches with the vision of the customer.
For other custom items, visit our partner stores: lapels.com.au, corporatetie.com.au, corporatekeyrings.com.au, custombeltbuckles.com.au, and customcufflinks.com.au.